Change Preferences
EL-CID Online allows users to select preferences for communications. Preference options are accessible through the following means:
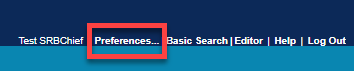
- The user controls space, located in the upper-right corner of the workflow Requests dashboard.
- Menu icons
 , located in each of the Requests dashboard requests tables.
Once the preferences menu has been selected, the preferences screen appears with the following main options:
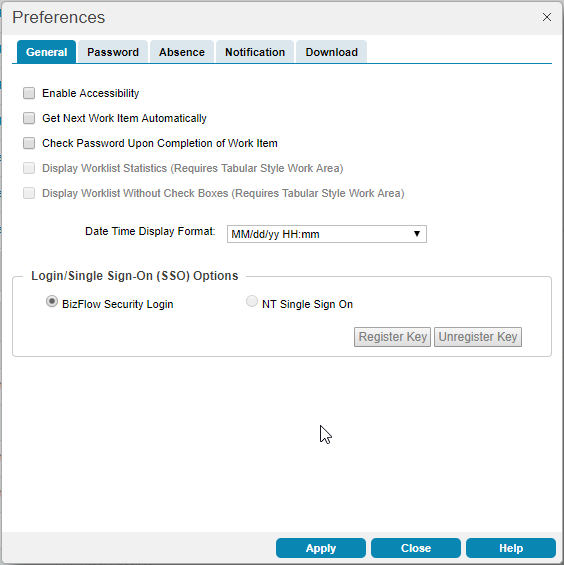
Of these five options, users will not need to use General or Download. The other three options are described below.
- Password: allows users to change their passwords.
- Absence: allows users to create an automatic message in response to communications to notify others that of an absence. Users can also choose to forward their assigned tasks to other users during the absence.
- Notification: Allows users to select when they receive notifications regarding workflow activities, and whether notifications are received through email, or via both email and calendar invitation.
To Change a Password:
- Click on the
 link to open the Preferences Window.
 - Click on the
 tab.
tab. - Enter your old password and new password. Click the
 button. The system will change your password but will NOT display an alert that this has occurred.
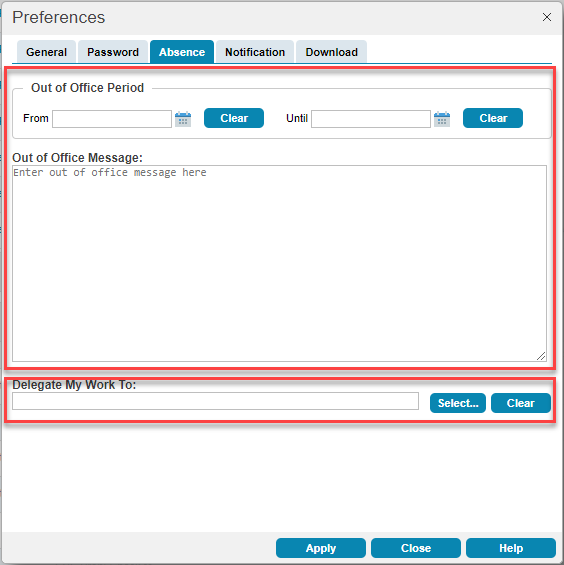
To Prepare for Absence:
- Click on the link to open the Preferences Window.
- Click on the
 tab. The popup will display the screen below.
 - Select dates for the absence and enter an out-of-office message in the appropriate field.
- To forward the assigned tasks to another user, click the
 button. The system open another window entitled "Select Designee".
 - Click on the
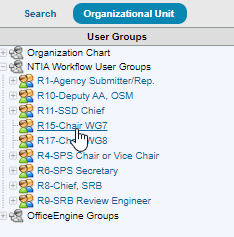
 link to open a drill-down menu with the available user roles, as shown below.
 - Select a role, and the system will offer a list of users with that role.
- Select a user from the list.
- Click the
 button.
 - Click the button.
To Change Notifications:
- Click on the
 tab to open the Preferences Window.
 - Select the notification options you prefer. Click the button. The system will change your notification settings but will NOT display an alert that this has occurred.
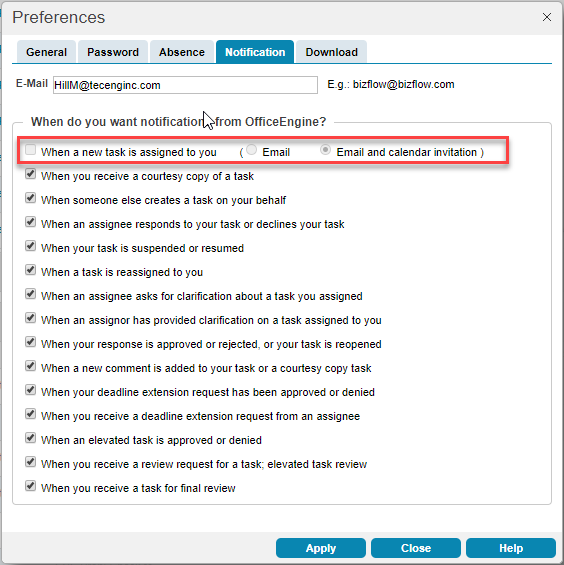
As indicated by the image above, the application defaults are set to sending notifications for all activities, and through both email and calendar invitation.
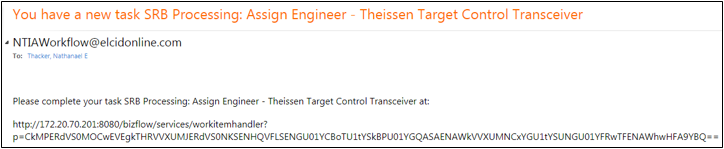
The images below illustrate what a notification can look like when received,

and when opened in a user’s email inbox.